

Ingredients for
300g hard white wheat
50g khorasan
1Tbsp vital wheat gluten
300g warm water
1 tsp sugar (or honey)
1/2 cup sourdough discard (optional)
2 tsp yeast
2Tbsp olive oil (or avocado oil)
1tsp salt
Set your mill to the finest setting and pour in your grain. Feel free to play around with different grain combinations but it is essential that you use a grain with a high protein content. Soft wheat will not form a good gluten structure leading to a soppy mess that will be impossible to shape, and a solid mass when baked. I recommend Hard White and Kamut to achieve a light buttery crust.
To the flour add your vital wheat gluten if you are using it. You can absolutely leave this out but your crust will be a bit bready rather crisp and chewy.
Autolyse is simply mixing your flour with the wet ingredients and allowing it to rest for about 30 minutes to allow the flour to absorb the water and soften the bran and germ. DO NOT skip this step! The bran and germ are hard and will cut the gluten while you knead preventing you from getting a properly developed gluten structure.
Combine the water, sugar or honey, and discard in a separate bowl. Wisk until combined and pour into the dry ingredients. Mix until a shaggy dough forms, cover and allow to rest for 30 minutes.
DO NOT add the oil in with the wet ingredients. The oil will coat the flour and prevent it from properly absorbing the water.
I will also weigh out and set on top of the covered dough, the oil, yeast and salt before leaving the dough to rest. I can not tell you have many times I have been halfway through kneading and realized I forgot to add the yeast in...
This is the step I tend to see people have the most issue with freshly milled flour. Allowing the dough to autolyse is essential to a successful kneading step but there are also a few tips I have found to achieving the perfect windowpane. FMF loves a high hydration recipe but it can be difficult to work with if you do not have experience with high hydration or sourdough techniques. I find, even with a yeast recipe, I will need to do slap and folds which is typically seen as a sourdough technique.
Add your oil, yeast and salt. I add the oil at this point because if you add it before the autolyse step, it will coat the flour and prevent it from properly absorbing the water. Now you will knead until a window pane is achieved. If you are familiar with yeast breads, kneading is a familiar step but a window pane, while achievable, is not required for a good final product. Fresh milled flour is a bit more sensitive to being properly kneaded. I have a kitchen aid but unfortunately while a beast with pastries, it does not do as well with the dough hook. I have only had success if I have a double or triple batch in my six quart mixer. If there is not enough dough it will end up just going for a ride around the bowl instead of actually being worked. This dough is actually very easy to knead by hand as I have tailored the hydration to not be so high as to be super sticky while still sufficiently hydrating the flour. I do not add flour on my board or hands when kneading. this will just add too much flour to your dough and change the hydration levels. Instead I use a combination of traditional kneading and slap and folds if it is starting to get sticky and stick to the board. If you have a Bosch or Ankarsrum mixer they do a phenomenal job but you can absolutely achieve the same results in a kitchen aid or by hand.
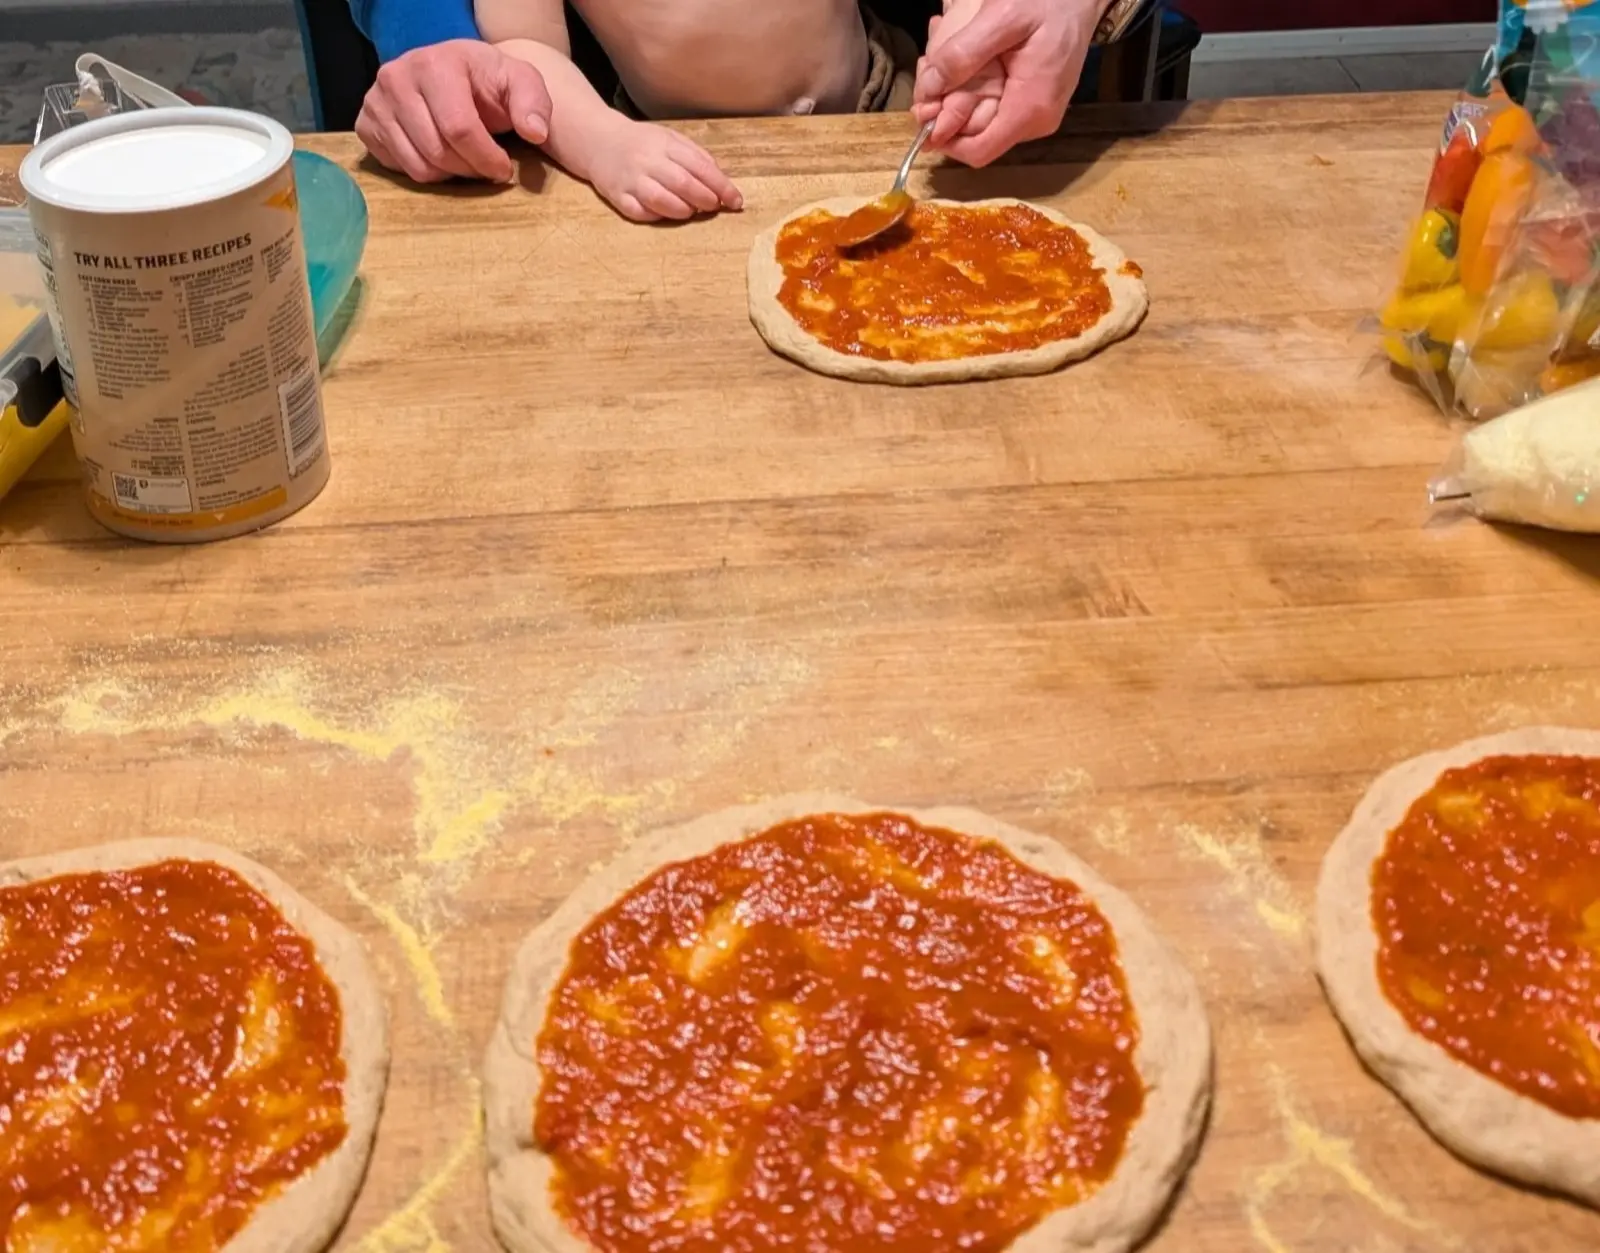
*below we are making personal pizzas as a family!
Once you have achieved a window pane, place the dough into a greased bowl and cover with a damp towel or plastic wrap. Set in a warm place and allow to rise until doubled, about 1 hour. Once the dough is doubled, punch down and turn onto your surface. I do not flour the surface. Divide the dough into two rounds and refrigerate overnight. This will allow the sourdough to ferment and enhance the flavor and texture of the dough. You can also make a large batch at one time, and divide it into balls to freeze. I place the balls on a silicone mat and freeze solid before bagging them. This way I can just grab one from the freezer and thaw in the fridge overnight or on the counter for a few hours whenever we feel like pizza!
about half and hour before baking, gently stretch the dough into a large circle, roughly 12-15 inches. Adjust the thickness to your liking! I also like to divide the dough into four instead of two balls and make mini pizzas for the kids to top however they would like! Allow the dough to rest for another 15 minutes covered with plastic wrap or a damp cloth. While it rests, Preheat your oven.
Place a baking steel or Pizza stone into your oven and preheat to 500 degrees. If you do not have either you can use a heavy baking sheet placed upside-down on your oven rack or alternatively just use a round baking sheet and build your pizza on it.
Top your dough rounds with whatever your favorite toppings are. We love bacon and pineapple (I know *gasp* controversial!) or ground beef, peppers and onions. Please keep in mind, the thinner your crust, the lighter your toppings should be or it will be a PAIN to transfer onto your pizza peel. When baking large pizzas I only bake one at a time so I will dust my pizza peel with corn meal and build the pizza directly on the peel, this way I only need to slide it into the oven. Keep the other dough rounds covered while you build and bake so they don't dry out.

Once you have built your pizza, slide it onto your pizza peel (unless you built it directly on top of it). If it sticks you need to use more corn meal! Slide the pizza onto your baking steel or stone and spritz it with some water to increase the hydration in your oven. Bake for 10 to 15 minutes while you build your next pizza.
Once the pizza is nicely crisped, slide it out of the oven onto your pizza peel. Allow it to cool on a wire rack if you are not eating it right away. If it sits on a flat surface like your table or counter it will lose the crispy, crackly bottom and while it will still be delicious, it will not have that crisp and chewy texture we are after. Enjoy!

Offline Website Creator