Ingredients for 1 Cake
12 egg whites
1 tsp cream of tartar (optional)
1/4 tsp salt
1 1/2 tsp vanilla
1/4 tsp almond extract
1 c granulated sugar
130g Soft White Wheat
1 c confectioners sugar
In this recipe I recommend sifting the bran and germ out of the flour. You can absolutely sift the flour and powdered sugar and then sprinkle the bran and germ back in but it will create a slightly denser cake. I don't mind sifting for delicate baked goods like this but if you prefer to keep all that nutritional goodness in there you are more then welcome! If you do sift it out, I put it into a container in the freezer for up to 6 months and add it into other recipes like my Bran and Germ Granola! Don't throw out all that good stuff!
Regardless of if you keep or sift out the bran and germ, DO NOT skip sifting the flour and powdered sugar! You want to bring as much air into the flour as possible so you won't deflate the meringue. If you are keeping the bran and germ, feel free to skip the first sift but you will still sift it with the powdered sugar three times before incorporating it into the meringue. Simply sprinkle the bran and germ back into the sifted flour before adding it into the eggs.
To make the meringue, first we need to set ourselves up for success. Start by wiping down the bowl of your stand mixer and whisk attachment with lemon juice. I pour a tablespoon onto a piece of paper towel and wipe everything down. Lemon juice will breakup any fat residue that may be left on your bowl or whisk.
Next we will separate the egg whites. Set up a small bowl in front of you to crack the eggs over. Place your stand mixer bowl to one side and a container for the yolks to the other. One at a time, separate your egg over the small bowl in front of you, allowing the whites to fall into it. Place the yolk into the container to the side. Once you are sure there are not bits of yolk or shell in the white, pour it into the mixing bowl. Repeat until all the eggs have been separated. By doing it this way, if you accidentally break a yolk, only one egg will be wasted at a time rather then the entire bowl of whites! Trust me, this will save you a huge headache and with the price of eggs you don't want to waste any!
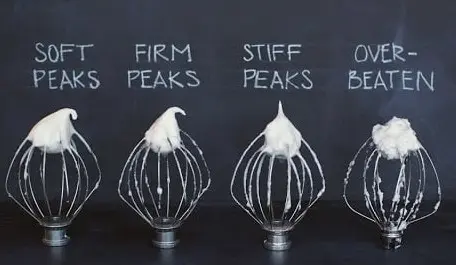
Place the mixing bowl with all the whites onto your stand mixer. Add the salt, vanilla and almond extract. Begin whipping on high speed until the egg whites are foamy. Very slowly add your granulated sugar, two tablespoons at a time. Continue whipping until all the sugar is added and stiff glossy peaks form.
To determine if you have reached stiff peaks, turn your mixer off quickly and remove the whisk. Turn the whisk over. If the meringue stands up with just a slight droop that is a stiff peak. If it flops over onto itself you are at a soft peak and need to whip longer. Return it to the mixer and turn it back on in one quick adjustment. Do not go up each speed slowly as this will deflate the whites. If you have overwhipped the whites and they are styrofoamy and will not create a peak you can continue with the recipe but your final cake will be a bit tougher and have a wet texture. It will still taste amazing so don't be too hard on yourself, but we are looking for that sweet spot where the meringue is stiff and glossy.
Next we will sift the flour and powdered sugar three times before folding it into the meringue. Sifting the flour will help add air and lighten it so that the meringue will not collapse. If you are keeping the bran and germ, sift the flour but when we fold the flour and meringue together, sprinkle the bran and germ in with the final third of the sifted flour and gently fold together. Be very gentle to avoid deflating the meringue too much.
Sift the flour and sugar two times. For the third sift, I sift it over the meringue. Sift in one third of the flour, stop and fold it together. Repeat two more times until the flour is fully incorporated. Add the bran and germ on the final fold if you are adding it.
Pour your batter into an ungreased Angel Food Cake Pan. Again, I can not stress enough that the pan must be ungreased! Grease and fat are your worst enemy when working with meringues! Using your spatula, spread the top out until it is smooth. The batter will not flatten in the oven so however it looks now is how it will look when it is baked. Using a butter knife or skewer, hold it vertically and pull it through the batter in swirling motions to remove any large air pockets. Slide the cake into a 375 degree oven and bake for 30 minutes or until a toothpick comes out clean.
Cooling is one of the most crucial steps in a successful Angel Food Cake. To prevent the hot cake from collapsing it must be hung upside-down while it cools fully. When the cake is done, immediately flip it upside-down. If you have an angel food cake pan with legs, simply set it on the legs to cool. If not, you can carefully balance the center of the pan on an inverted glass and leave it to cool. Do not remove from the pan until it is fully cool to the touch. You do not want to remove it too soon and ruin all your hard work!
Because we used an ungreased tube pan, the cake will need to be cut out tof the pan. This is why an angel food cake pan with the removable bottom is so important!
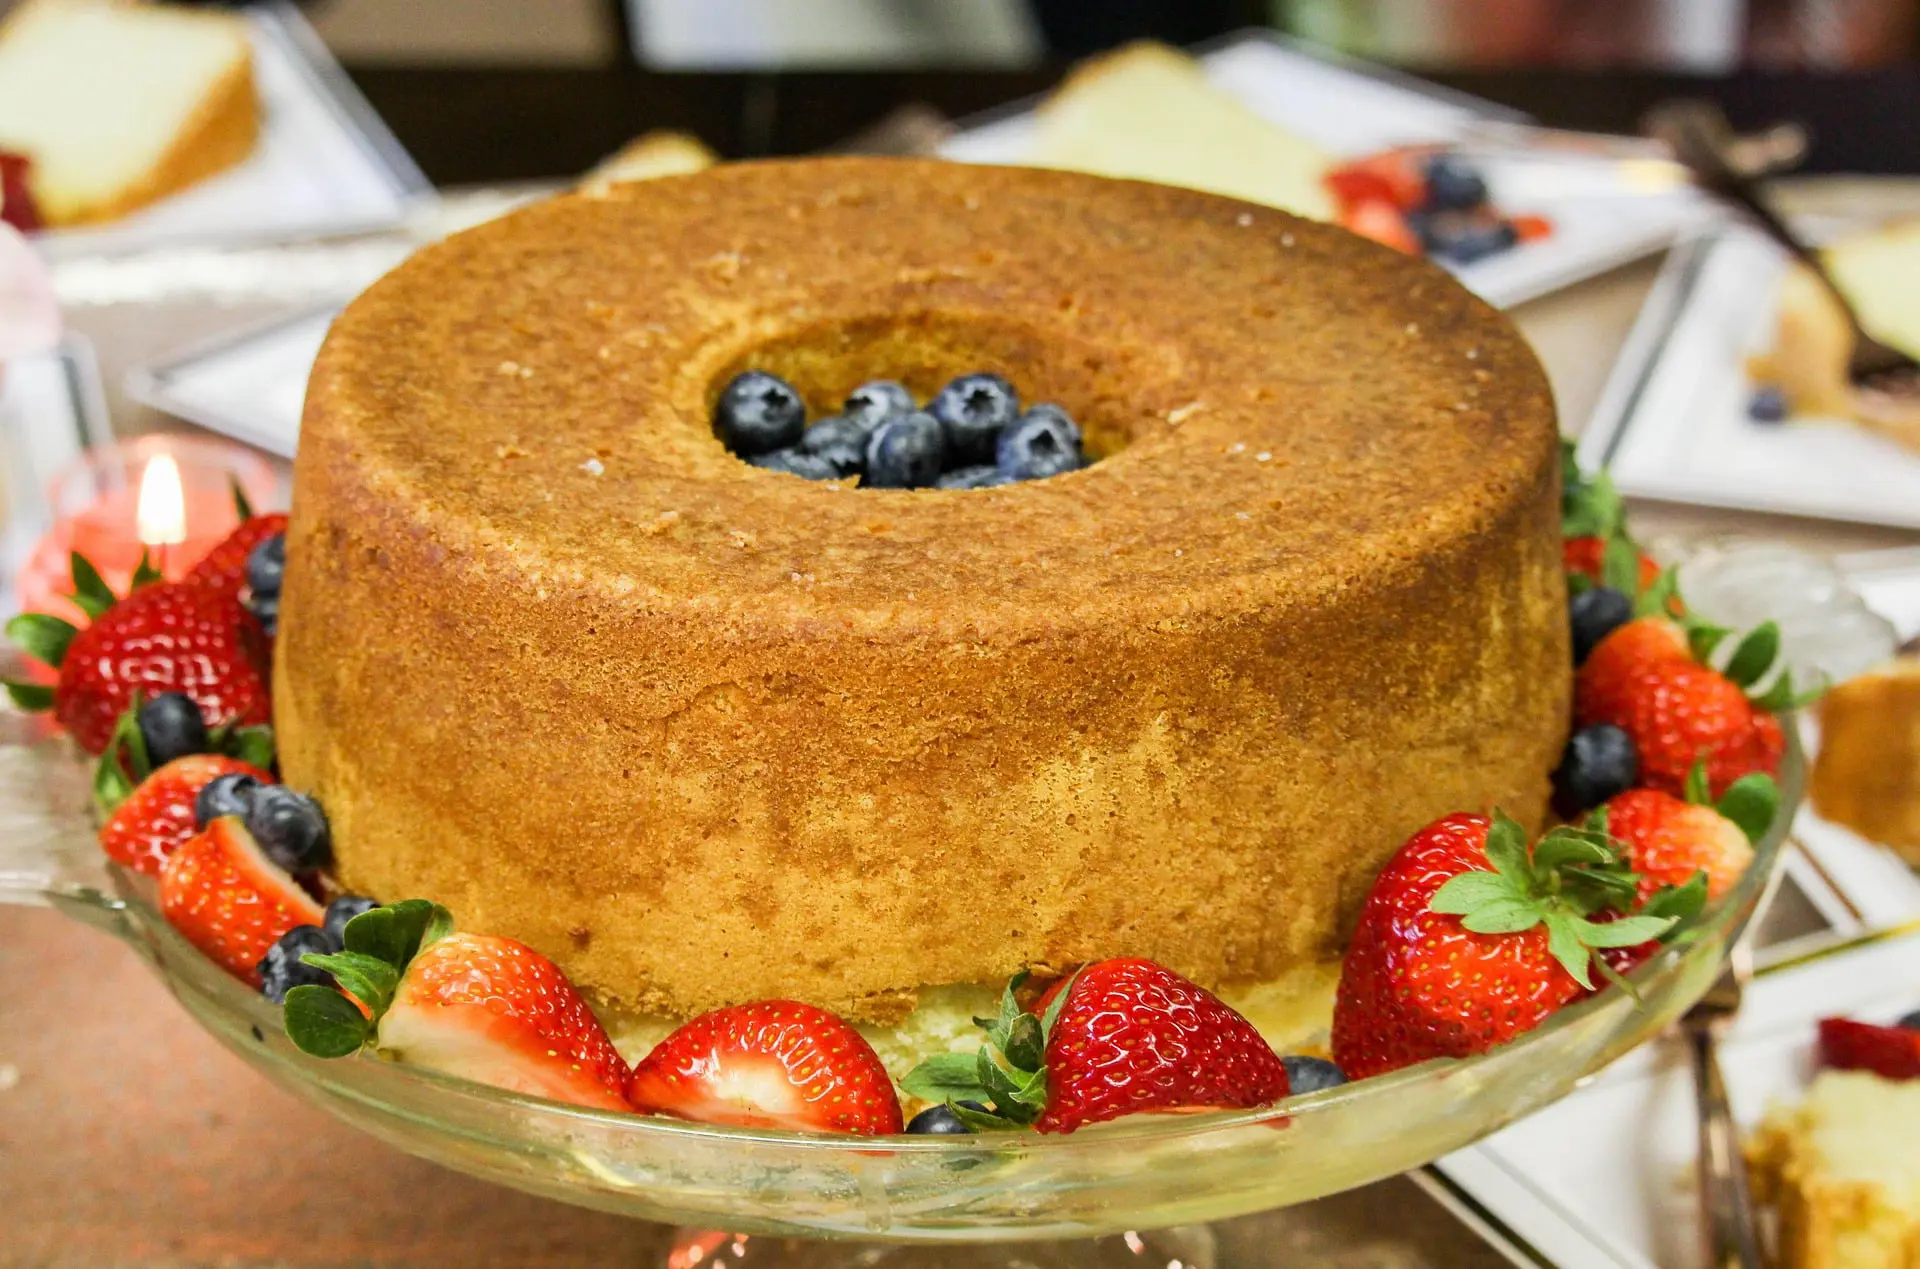
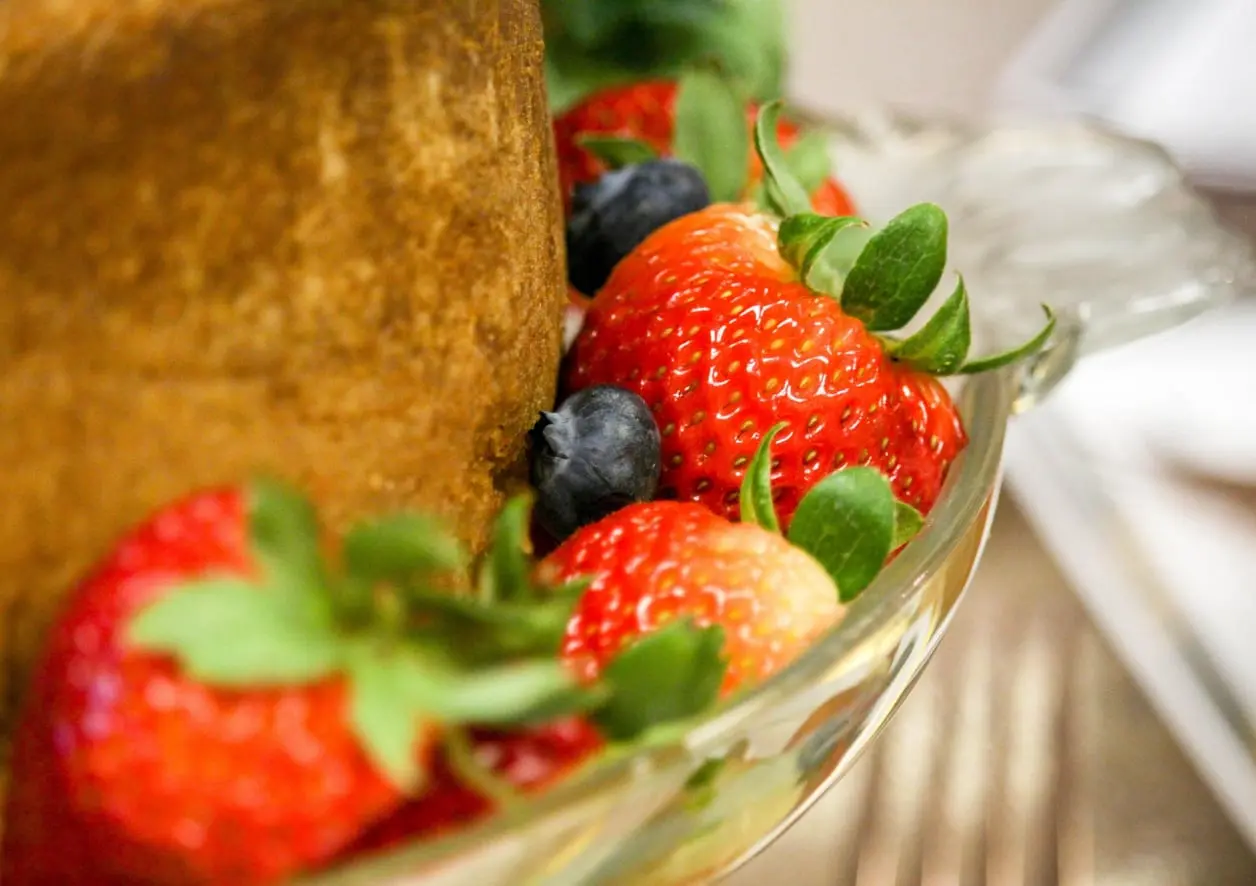
Slide a long knife along the edges of the pan and slide it around the whole outside of the cake. Do the same along the center tube. Pull the cake up, out of the sides of the pan. Set it on the counter and now slide your knife along the bottom of the pan. Slice all the way around the bottom of the cake. Gently lift the cake away from the pan. Flip upside-down to serve. I like to eat it plain or with strawberries and whipped cream! Enjoy! Please share your pictures and tag me on Instagram and Facebook at Grain to Table so I can see your creations!

AI Website Creator